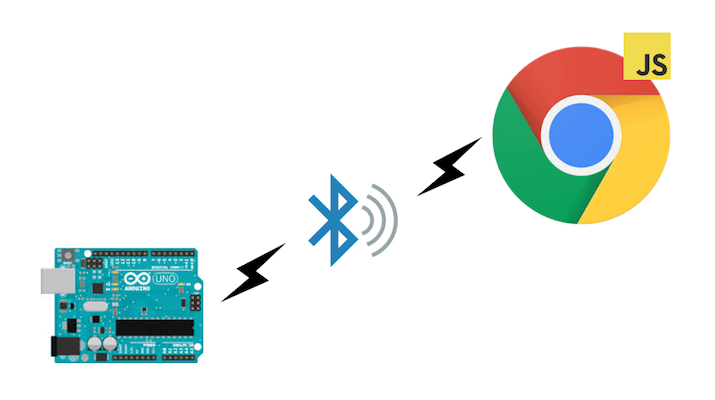
話題のWebBluetoothでGenuino101をブラウザからリモートコントロールしてみよう

こんにちは、dotstudioののびすけです。
最近WebBluetoothがChromeでデフォルトで利用できるようになったと知って、今回試してみたのでまとめてみました。
WebBluetoothとは
WebブラウザのAPIでBluetoothが使えるようになるAPIです。正確にはBLE(Bluetooth Low Energy)というBluetooth4.0の機能を使えます。
通常、BLEはデバイス間を接続して通信させる規格ですが、その性質上、サーバーサイドかつ低レイヤーなプログラミング言語や周辺知識を持っていないと取り扱うことが難しかったです。
これまでにもNode.jsでは、nobleというBLEを扱えるモジュールや類似モジュールが存在しましたが、Node.jsはサーバーサイド言語なためホストマシンが必要でした。
WebBluetoothはブラウザのJavaScriptからBLEを扱うことができるブラウザAPIです。
何が嬉しいの?
WebBluetoothを使えることは、何が利点になるのでしょうか。
大枠で捉えると、Webとデバイスの連携がしやすくなったことが挙げられます。
Webブラウザ上のJavaScriptで開発が出来るため、 通常のWebサイトの機能にデバイスとの連携する機能を追加することができるようになります。
現行のIoTデバイスはデータを取得するために付属の専用スマホアプリなどをインストールしてBLE通信をする必要があります。これは(スマートフォンの場合)スマホアプリの開発言語のJavaやSwiftからのみBLEを扱うことが出来たからです。
WebBluetoothが広まれば、デバイスと連携するスマートフォンアプリケーション(以下、スマホアプリ)を開発しなくてもいい時代が来るかもしれません。Webとデバイスの連携が格段にしやすくなるので、Webの表現は圧倒的に広がるなと感じています。
僕自身は2015年の終わりにWebBluetoothを知り、当時アツくなって発表などをしていました。
WebBluetoothの詳細についてはW3Cのページなどをご確認ください。
WebBluetoothとGenuino101でリモートLチカをしてみよう
それでは実際にWebBluetoothを使ってみまししょう。
今回はGenuino101というBluetooth搭載のArduino互換ボードを利用してみます。
作るもの
Androidのブラウザ(Google Chrome)からGenuino101に繋げたLEDをリモートで制御してみます。
- Macbook Pro Early 2016
- macOS Sierra v10.12.2
- Arduino IDE v1.8.1
- Android 6.0.1
- Chrome 56
Genuino101側
Genuino101側のソースコードはサンプルにあるものをそのまま使います。
/*
 * Copyright (c) 2016 Intel Corporation.  All rights reserved.
 * See the bottom of this file for the license terms.
 */

#include <CurieBLE.h>

BLEPeripheral blePeripheral;  // BLE Peripheral Device (the board you're programming)
BLEService ledService("19B10000-E8F2-537E-4F6C-D104768A1214"); // BLE LED Service

// BLE LED Switch Characteristic - custom 128-bit UUID, read and writable by central
BLEUnsignedCharCharacteristic switchCharacteristic("19B10001-E8F2-537E-4F6C-D104768A1214", BLERead | BLEWrite);

const int ledPin = 13; // pin to use for the LED

void setup() {
  Serial.begin(9600);

  // set LED pin to output mode
  pinMode(ledPin, OUTPUT);

  // set advertised local name and service UUID:
  blePeripheral.setLocalName("LED");
  blePeripheral.setAdvertisedServiceUuid(ledService.uuid());

  // add service and characteristic:
  blePeripheral.addAttribute(ledService);
  blePeripheral.addAttribute(switchCharacteristic);

  // set the initial value for the characeristic:
  switchCharacteristic.setValue(0);

  // begin advertising BLE service:
  blePeripheral.begin();

  Serial.println("BLE LED Peripheral");
}

void loop() {
  // listen for BLE peripherals to connect:
  BLECentral central = blePeripheral.central();

  // if a central is connected to peripheral:
  if (central) {
    Serial.print("Connected to central: ");
    // print the central's MAC address:
    Serial.println(central.address());

    // while the central is still connected to peripheral:
    while (central.connected()) {
      // if the remote device wrote to the characteristic,
      // use the value to control the LED:
      if (switchCharacteristic.written()) {
        if (switchCharacteristic.value()) {   // any value other than 0
          Serial.println("LED on");
          digitalWrite(ledPin, HIGH);         // will turn the LED on
        } else {                              // a 0 value
          Serial.println(F("LED off"));
          digitalWrite(ledPin, LOW);          // will turn the LED off
        }
      }
    }

    // when the central disconnects, print it out:
    Serial.print(F("Disconnected from central: "));
    Serial.println(central.address());
  }
}

/*
   Copyright (c) 2016 Intel Corporation.  All rights reserved.

   This library is free software; you can redistribute it and/or
   modify it under the terms of the GNU Lesser General Public
   License as published by the Free Software Foundation; either
   version 2.1 of the License, or (at your option) any later version.

   This library is distributed in the hope that it will be useful,
   but WITHOUT ANY WARRANTY; without even the implied warranty of
   MERCHANTABILITY or FITNESS FOR A PARTICULAR PURPOSE.  See the GNU
   Lesser General Public License for more details.

   You should have received a copy of the GNU Lesser General Public
   License along with this library; if not, write to the Free Software
   Foundation, Inc., 51 Franklin Street, Fifth Floor, Boston, MA  02110-1301  USA
*/
このコードをArduino IDEでGenuino101に書き込めばBLEのペリフェラル(デバイス側)として起動してくれます。
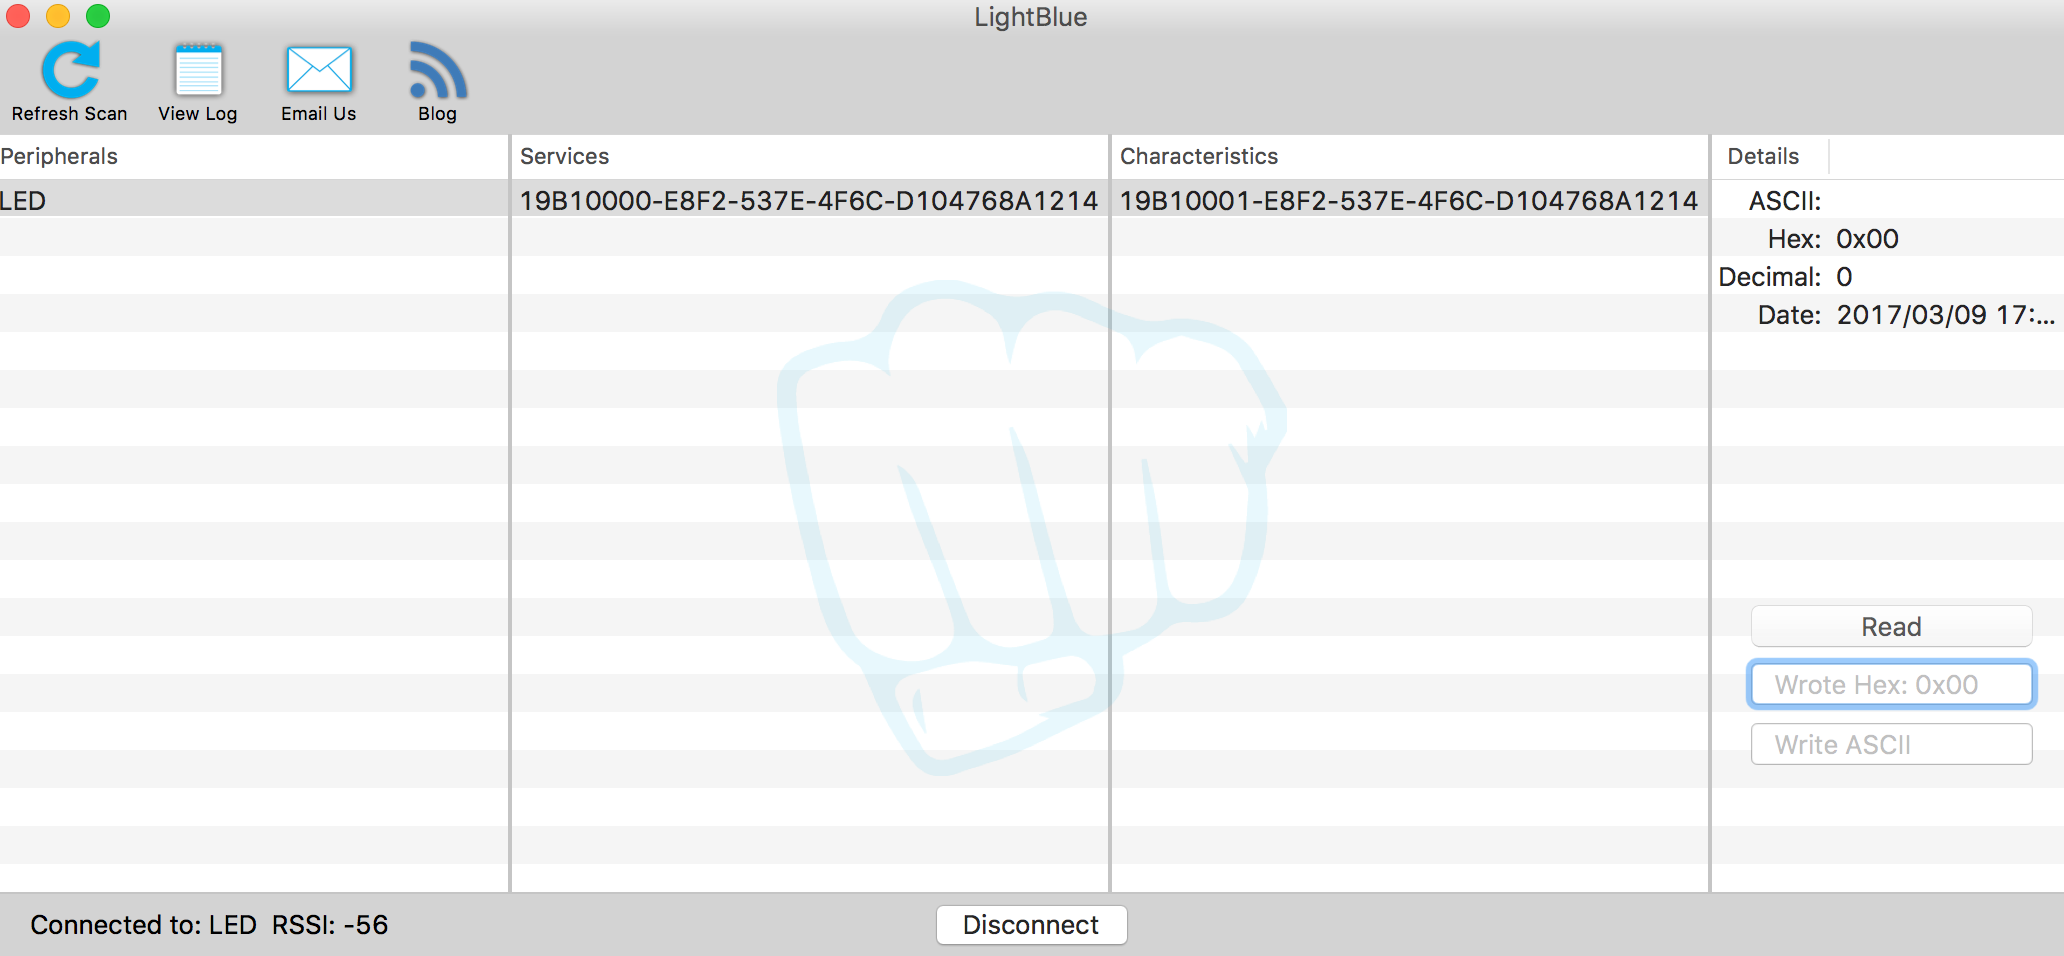
ソースコードの22行目のblePeripheral.setLocalName("LED");でLEDと指定していますが、この文字列がBLEデバイスの表示名となります。
MacからはLightBlueなどのアプリで確認することができます。
ブラウザ側
ソースコードはこちらにあげています。
BLEはペリフェラル(デバイス)のUUID → ServiceのUUID → CharacteristicのUUIDという感じで接続していきます。
Characteristicがデバイスの個別の機能だとしたら、Serviceは機能群というイメージで捉えると分かりやすいかもしれません。
詳しくはCodeZineさんの記事などをご参照ください。
'use strict';

const UUID = '19b10000-e8f2-537e-4f6c-d104768a1214';
const SERVICE_UUID = '19b10001-e8f2-537e-4f6c-d104768a1214';
let g_characteristic = {};
const $light = document.querySelector('#light');
const $bulb = document.querySelector('.bulb');

//接続後にon/off切り替え
const ledToggel = () => {
  g_characteristic.readValue()
  .then((val) => {
    let led_state = val.getUint8(0); //値読み取り
    led_state = led_state ? 0 : 1;
    g_characteristic.writeValue(new Uint8Array([led_state]));
    toggelClass(led_state);
  })
}

const main = () => {
  return navigator.bluetooth.requestDevice({acceptAllDevices:true, optionalServices:[UUID]})
  .then(device => {
    console.log(device);
    console.log('> Name:             ' + device.name);
    console.log('> Id:               ' + device.id);
    console.log('> Connected:        ' + device.gatt.connected);
    console.log('--デバイスに接続中です...--');
    return device.gatt.connect();
  })
  .then(server => {
      console.log('Getting ___ Service...');
      return server.getPrimaryService(UUID);
  })
  .then(service => {
      console.log('Getting ____ Characteristic...');
      return service.getCharacteristic(SERVICE_UUID);
    })
  .then(characteristic => {
      g_characteristic = characteristic;
      $light.removeEventListener('click',main);
      $light.addEventListener('click',ledToggel);
      return characteristic;
    })
  .catch(error => {
    console.log('Argh! ' + error);
  });
}

/**
 * domのclass付け替え(表示切り替え)
 */
function toggelClass(led_state){
  if(led_state){
    addClass('#ff0000');
  }else{
    removeClass();
  }
}

function removeClass(){
    $bulb.style.background = '#bbb';
    $bulb.style.boxShadow = '';
    $bulb.classList.remove("light_up");
}

function addClass(color){
    $bulb.style.background = color;
    $bulb.style.boxShadow = `0 -10px 100px ${color}`;
    $bulb.classList.add("light_up");
}

$light.addEventListener('click', main);
21行目のnavigator.bluetooth.requestDevice()で周辺のデバイスを検索し、28行目のdevice.gatt.connect()でデバイスに接続します。
32行目のserver.getPrimaryService()でServiceに接続し、36行目のservice.getCharacteristic()でCharacteristic(機能)にアクセスできます。
そこで接続が確立するとボタンを押すたびに10行目のledToggel()が呼ばれ、.readValue()で値読みとり、.writeValue()で値の書き込みができるようになります。
これらのコードはGitHub Pagesで動作するようにホスティングしてあるので実際の動作確認もできます。
まとめ
いかがでしたか。
WebBluetoothを使うことでブラウザからBluetoothを使ってデバイスを制御することができました。
今後、この技術が普及することでWebブラウザとデバイスの距離がさらになくなっていくかもしれません。
是非みなさんも試してみて、この可能性を実感してみて下さい。
それでは。